Star Wars Pumpkin Carving Kit & Jabba the Hutt “Funkin”

Regular readers of the site will know that I’ve carved a number of Star Wars-themed pumpkins. I’ve done a couple of Jabbas (version 1 and version 2), a Bib Fortuna, a Rancor, and last year a Gamorrean Guard (that one won a prize).

But this kind of carving can be rather tiring and time-consuming, so when my sister suggested trying out “Funkins” (foam craft pumpkins that can be carved similar to real ones) I thought maybe I would take it easy this year and try one. They were already on sale at the local craft store, although they’re still more expensive than most actual pumpkins. The advantage, I figured, was that we would be able to save it and use it every year.

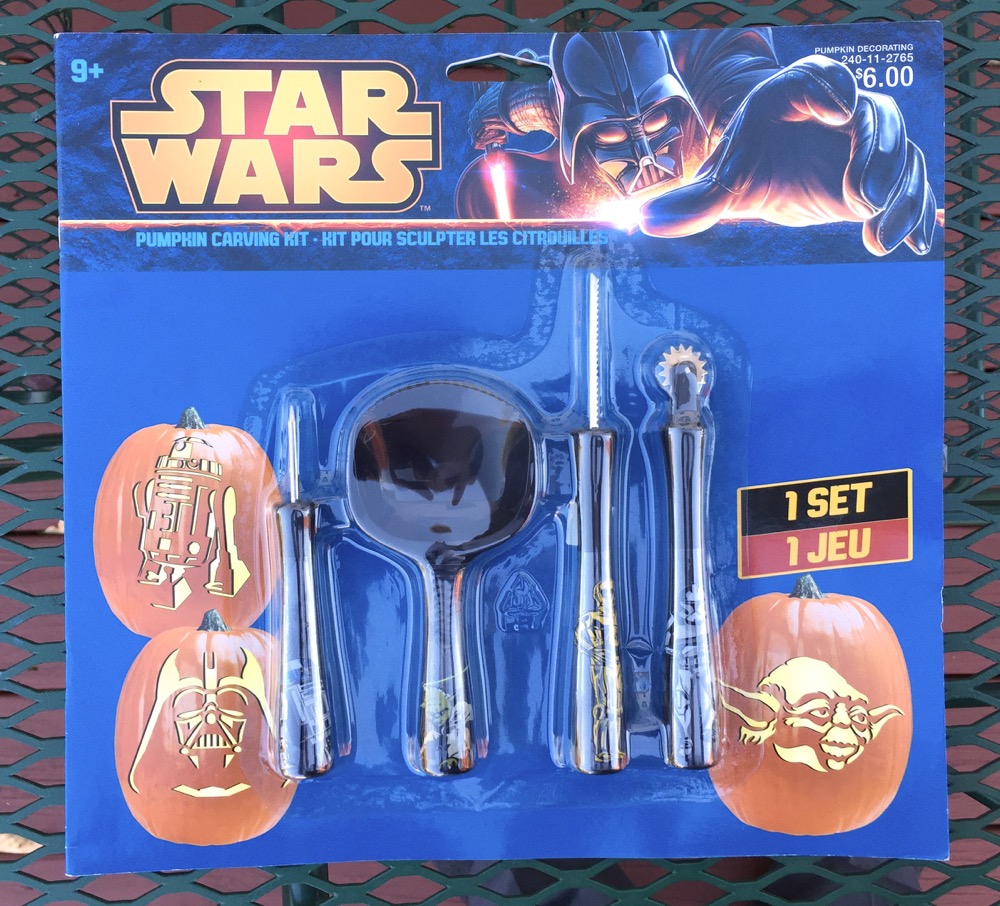
Also, I discovered that a Star Wars pumpkin carving kit (pictured at the top of the post) has a Jabba the Hutt pattern in it. I think it’s available at many retailers, but I got mine at Target. It comes with a number of patterns, and the idea is that you tape the pattern to the pumpkin, then use a metal spike to poke holes tracing its outline. Then you can follow the holes when carving the pumpkin. In practice, this is a little tricky, unless you have a pumpkin that’s exactly the right size and shape. I think I put too many holes in as well, but I wanted to make sure I got the shape.

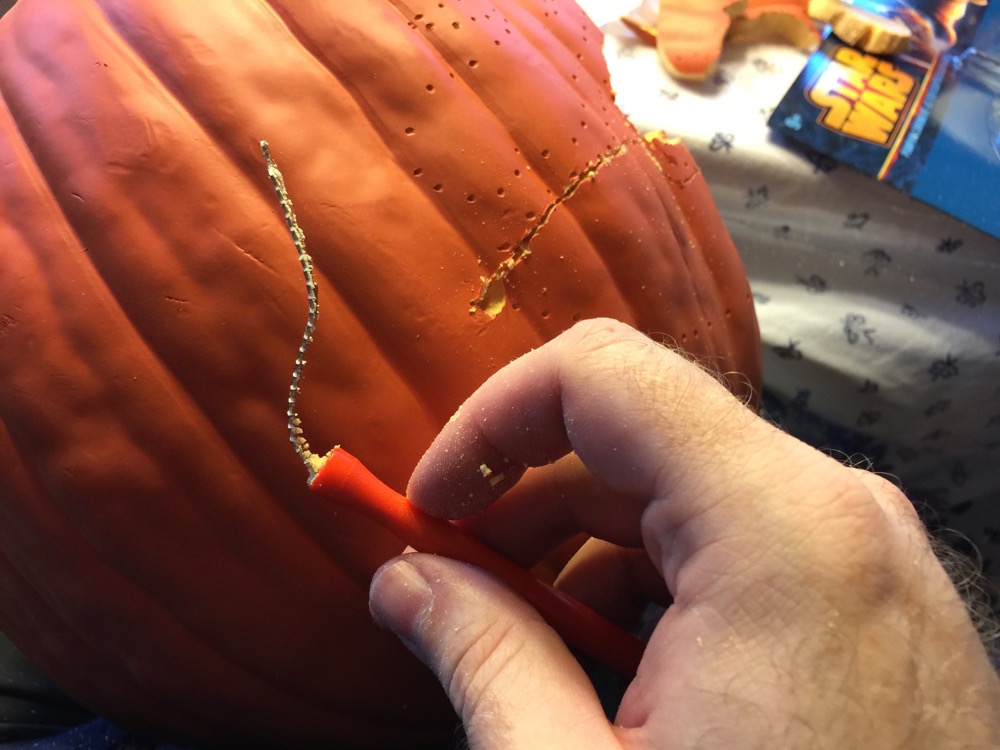
When you remove the pattern, you get something like what you see below. It’s a little hard to see the pattern in this, but if you refer to the paper you can more or less make sense of it.

Now, as I said, Funkins are artificial pumpkins made of very dense foam. It’s actually pretty hard stuff. It’s also apparently made in two halves that are glued together, so when you come up against that seam while carving, it can be hard to get through. You’re supposed to be able to use traditional pumpkin carving tools, but my feeling was that they weren’t quite up to the task. I had a variety of sizes and shapes, but carving was not easy. I bent/broke more than one tool (luckily I got most of them after Halloween last year at 90% off).
This pattern has a lot of detail and some pretty thin lines in it. I’m not sure if it would work better with a real pumpkin or not, but I nearly broke the whole thing several times and had to resort to using glue in a few places to strengthen it a bit. I think in hindsight it might have been better to just work on scraping off the surface of the pumpkin rather than carving chunks out. I wasn’t very impressed with the final product. It’s difficult to make out the design, and there are quite a few stray holes left over as well.

However, when I tried lighting it up, it looked pretty good! I had to search for an old LED light strip I had, since they tell you specifically not to put open flames in these things. I think I’m still going to try and carve an actual pumpkin the year, though.


I am not exactly a pro at carving pumpkins. I may have to attempt a couple of these